- Premiere Tutotial
PluralEyes: The Best Plug in to Sync Audio in Premiere Pro
Apr 28,2019• Proven solutions
Have you ever found the situation stressful when you need to sync audio in Premiere Pro? Well you are not merely one who find this task challenging. However, with the help of PluralEyes, this task can be simplified. PluralEyes is an outstanding third-party plug-in helpful in syncing audio. If you have started pondering over how to use it in Premiere Pro, we shall help you learn the same. The article today will be discussing about making your work easier by using PluralEyes. Let us begin without further ado.
Part 1: What is PluralEyes
PluraEyes is a plug-in from Red Giant that aims to ease the task of audio/video synchronization. With its user-friendly interface, it easily imports, syncs and edits the clips in a matter of minutes. Being helpful for all operating systems and supportive to all host apps, PlularEyes can be counted as the most appropriate tool when it comes to fast audio syncing. It has the ability to carefully scrutinize the clip and then make use of the best syncing options. There are various scenarios when you can work with PluralEyes like events including weddings, conference, music videos etc. It just maximizes the workflow and has faster setup with less complications and more efficiency.
Part 2: How to Use PluralEyes in Premiere Pro
Step 1: Import Video and Audio Files
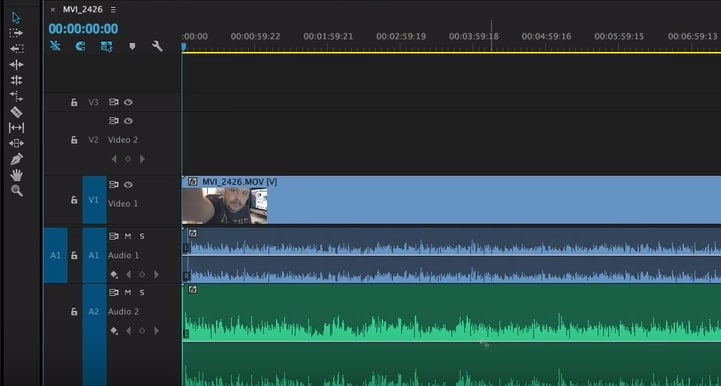
To begin with, all you need is adding your video clip to the computer. Simply import the footage on your PC followed by opening Premiere Pro. Past it, customize the sequence settings as per your needs. Now, drag the footage and the preferred audio into the timeline. Next, you need to make sure of arranging the multiple cameras to their own level and keep the audio at bottom level. Also, keep the footage in back to back format.

Step 2: Click Open using PluralEyes
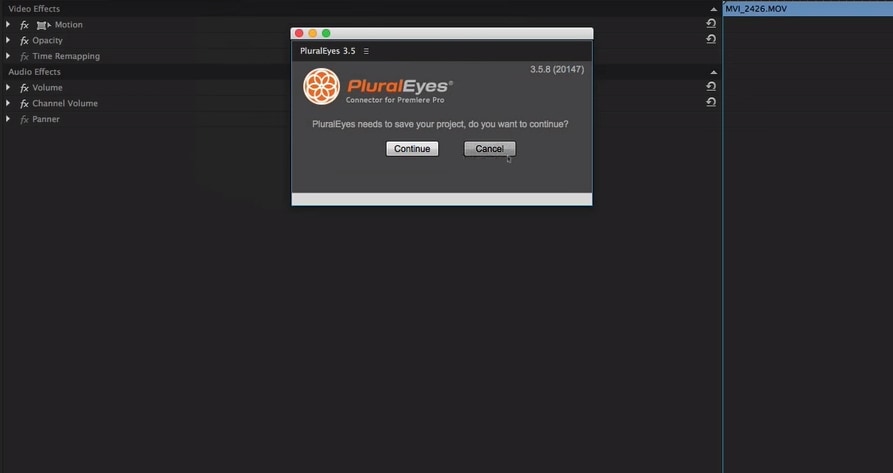
In order to open PluralEyes, head to “Window” and pick out the “Extensions” option. Now, select “PluralEyes”. By doing this, you will receive a small PluralEyes window in Premiere Pro. In case there are multiple timelines opened please ensure to select the one to be worked with.

Step 3: Start Syncing Audio
Subsequently, PluralEyes will begin to scan the footage and audio file you imported. Prior to syncing, you are supposed to wait till PluralEyes scans the files. After the scanning gets completed, get start with syncing. Now, the files will begin to get arranged and matched simultaneously. Followed by this, hit on “export” and you will see the fresh timeline that is synced, opened in Premiere Pro.

Conclusion
Using PluralEyes is the best choice if you want to get your audio/video synced in an accurate way. We have demonstrated how this tool works and how you can sync audio in Premiere Pro via PluaralEyes. Now, by the end of the topic, we hope that you are well acquainted with the know-how of PluralEyes and the steps involved in audio syncing. You can now work on your clips without any complications. Thank you for reading this and do share your views with us.
Bring up your video to a professional level with straightforward tools.
Try It Free Try It Free


Liza Brown
chief Editor
0 Comment(s)